Signs You Need to Use a Home Mold Test Kit
Apr 16th 2026
You clean your house, follow a strict schedule, but are still concerned about mold? A home mold test kit can be a practical first step when something in your house feels off, especially when you notice a persistent musty odor but can’t see any visible mold. That smell is often the earliest warning sign. Mold can grow in hidden places, and behind walls, under flooring, or inside ventilation systems, quietly spreading while releasing that familiar damp, earthy scent.
If you’re dealing with this situation, you need to approach it methodically. You need to understand where mold tends to grow, how to investigate your home, and how to use testing tools effectively when your eyes alone aren’t enough.
Detecting Mold
The first step is learning how to detect mold without seeing it. Your senses are more useful than you might think. A musty smell usually points to moisture trapped somewhere. Mold needs two things to thrive: water and organic material. Dust, wood, drywall, and fabric all provide food. So when moisture lingers in any of these areas, mold can begin to develop. Even if surfaces look clean, spores can settle into dust and start growing in thin, almost invisible layers.
One practical way to search for hidden mold is to look for signs of moisture rather than mold itself. Water stains, peeling paint, warped wood, or condensation on windows can all signal problem areas. Use a flashlight and shine it across surfaces at an angle to spot subtle texture changes. Mold growth often disrupts the uniform look of dust, creating patchy or uneven patterns. These differences can be easy to miss under normal lighting but stand out when illuminated from the side.
When to Use a Home Mold Test Kit
When you still can’t locate the source, that’s where testing becomes useful. A mold test kit allows you to confirm whether mold is present in the air or on surfaces, even if it’s not visible. These kits are designed for simple use at home and typically rely on collecting samples that encourage mold growth in a controlled way.
Most kits offer two basic testing methods. The first is air sampling. You expose a collection dish to the air in a room for a set period, allowing airborne spores to settle. After sealing the container, you leave it undisturbed for a few days so any mold present can grow into visible colonies. This gives you a general sense of the mold levels in that environment.
The second method involves surface sampling. You need to tap the agar medium side of the test plate against the surface or object you want to test. The puff of air you create when tapping transfers any mold spores to the plate. Then, the plate is closed and sealed. Like the air test, it’s left to develop over several days. This method helps confirm whether a specific spot is contaminated.
How Often Should You Test for Mold?
As for how often you should use a home mold test kit, it depends on your situation. If you’ve recently had water damage, testing should be done shortly after cleanup and again later to ensure the problem hasn’t returned. In general, periodic testing every few months can help catch issues early, especially in high-risk areas. Think of it as routine maintenance, similar to checking smoke detectors or changing air filters.
After remediation or deep cleaning, testing again is essential. Mold can return if the underlying moisture issue hasn’t been fully resolved. Regular monitoring helps you stay ahead of the problem rather than reacting to it after it becomes severe.
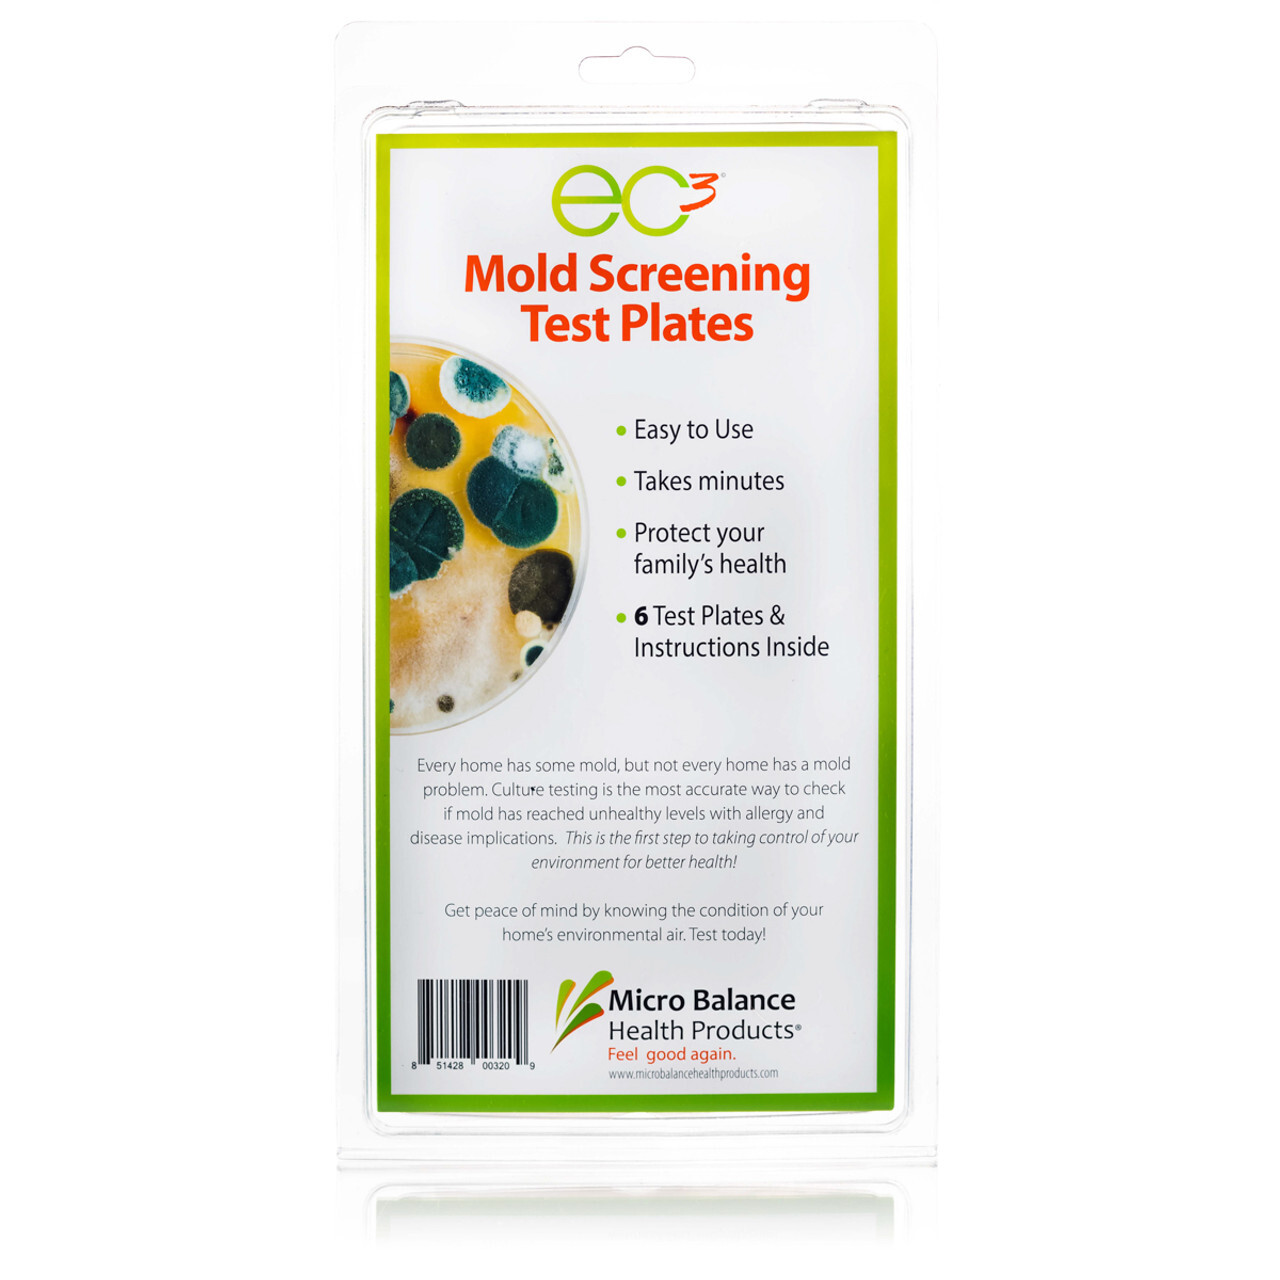
EC3 Mold Test Kits from Micro Balance are Easy to Use
Using our EC3 home mold test kit is straightforward, even if you’ve never tested for mold before. The kit is designed to give you a clear starting point, whether you’re checking the air in a room or investigating a specific item that might be contaminated. You only need to follow a consistent process and allow enough time for results to develop properly.
To begin with air testing, choose a room where you suspect a problem. Once you’re in the room, take one of the test plates out of its packaging and open it. Place the exposed plate on a stable surface somewhere central, not tucked against walls or near open windows where airflow might skew the results. The goal is to let the plate capture a natural sample of the air as it exists in that space.
Leave the plate open for about an hour while the room is used normally. After that period, close the container carefully and secure it so it stays sealed. Wrapping it and labeling it with the location and date helps you stay organized, especially if you’re testing multiple areas at once.

Then store the plate in a dark, undisturbed place like a drawer or cabinet. After about five days, any spores that landed on the plate will begin to grow into visible colonies. It’s important not to reopen the plate at this stage. Instead, compare what you see through the container with the reference guide included in the kit. This helps you understand whether mold levels appear normal or elevated.
If you want to test a specific object, use the tap method. This works well for furniture, fabrics, or surfaces that might hold dust. The contact with the item dislodges tiny particles and settles onto the testing surface. From there, the steps are the same: seal it, label it, store it, and wait for growth to appear.
Dealing with mold is about staying proactive. Pay attention to the changes in your home, and don’t ignore subtle changes in your environment. Get an EC3 Home Mold Test Kit and address it before it affects your home or health!